


Posted inwater fix now
Reverse Osmosis Filter Leak Fix Now — 7 Smart Steps for a Quick Water Fix Now Solution
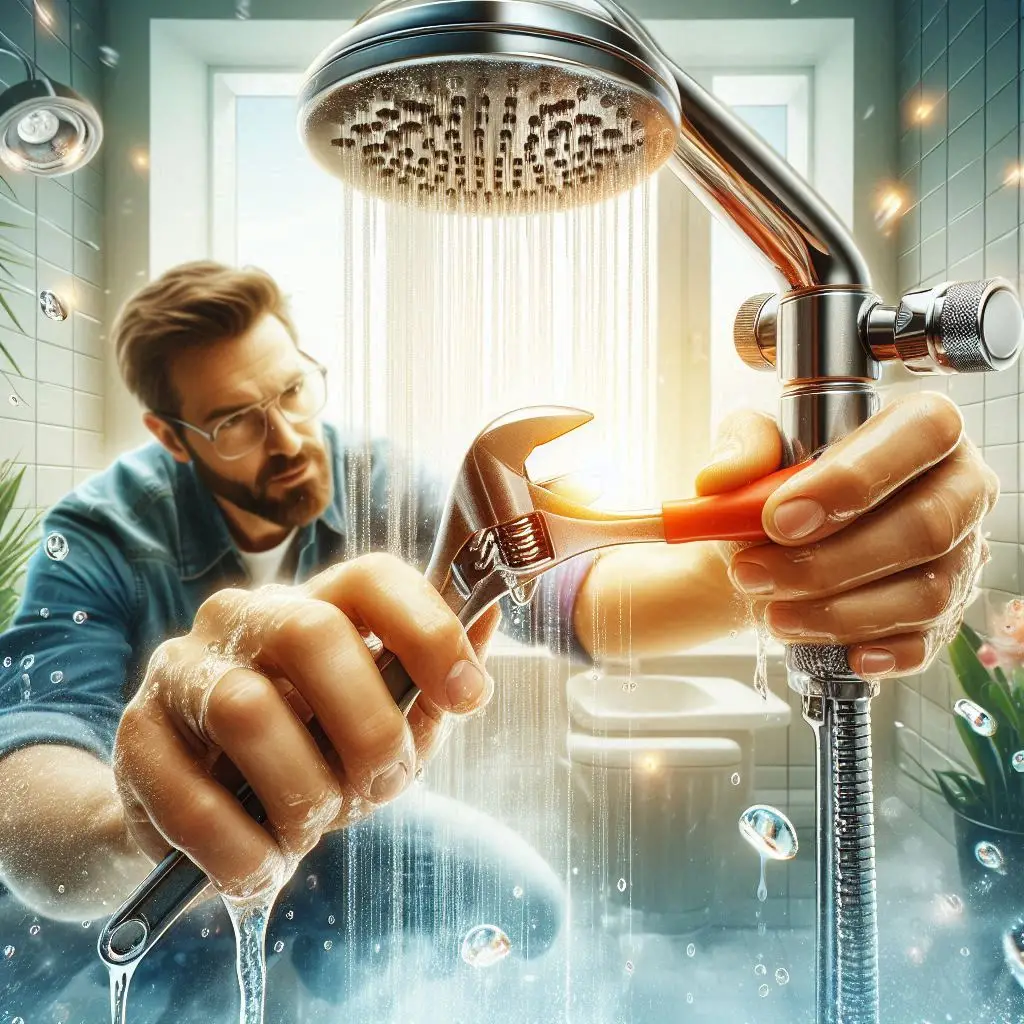
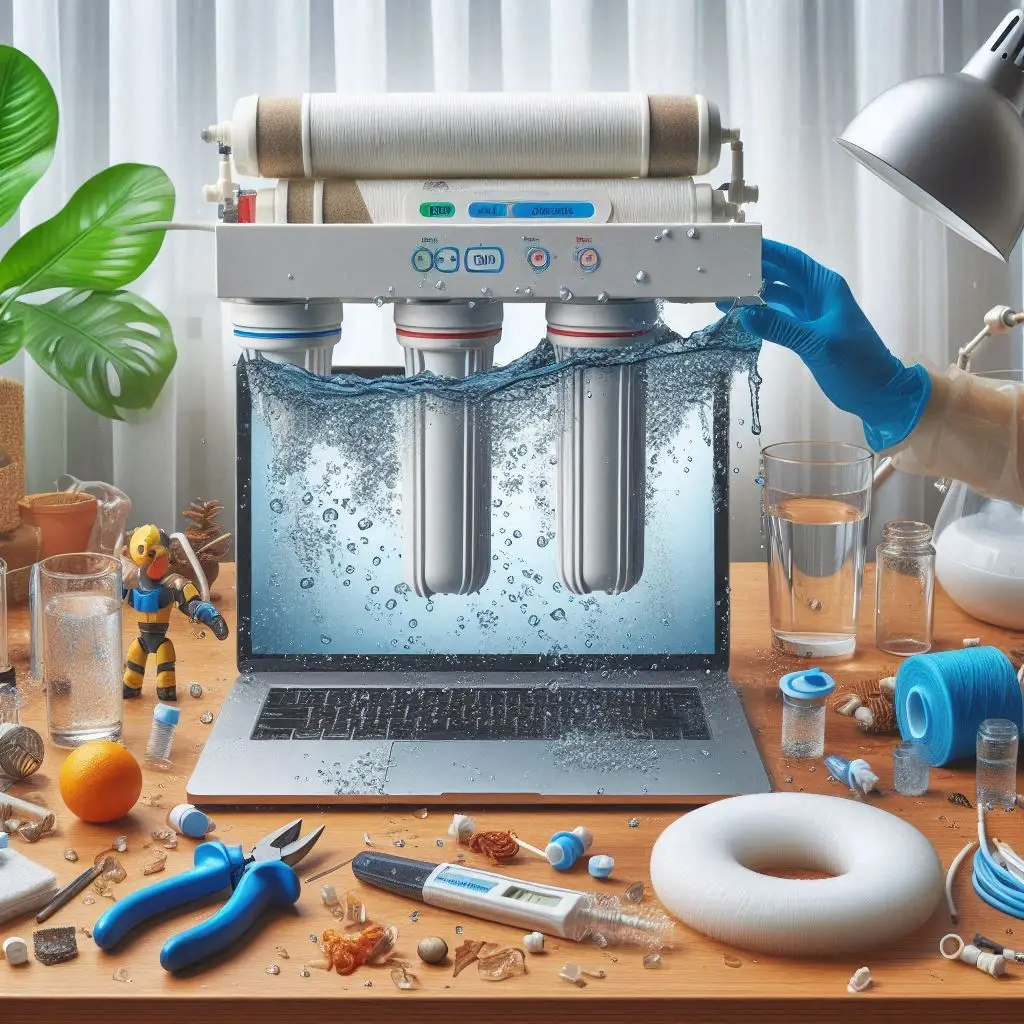
A reverse osmosis (RO) filter leak might look harmless, but it wastes clean water and can damage your cabinet base. Here’s how to water fix now in 7 simple steps…